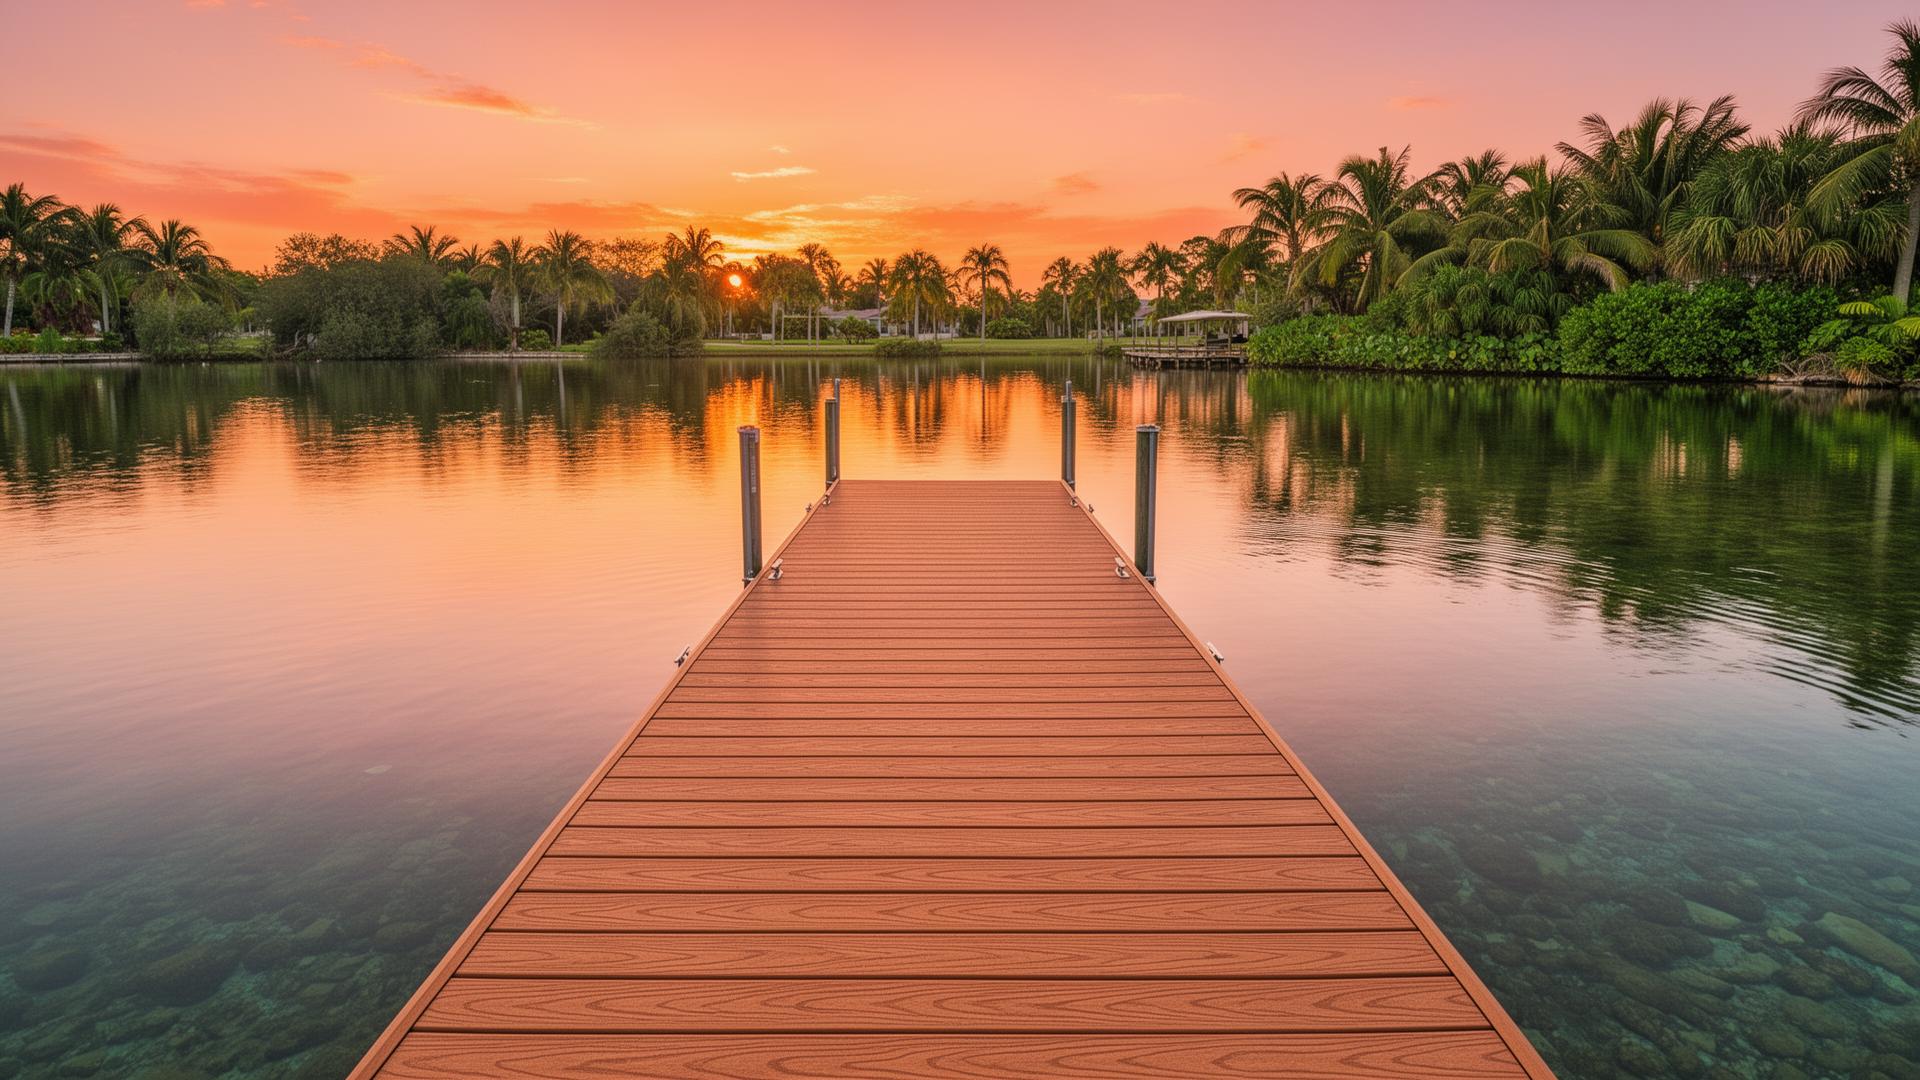
Premium No-Permit Floating Docks | Modular Dock Systems from Florida
USCG-registered vessels • DIY install in hours • Premium wood decking available • Ships from Florida

Watch: Installed in Under 2 Hours
Featured on National Television
Our dock system was featured on A&E's Zombie House Flipping, where we installed a complete floating dock with paver stones in under 2 hours. Same quality, same speed—now available direct to you.
See More Customer ProjectsBuilt For How You Use the Water
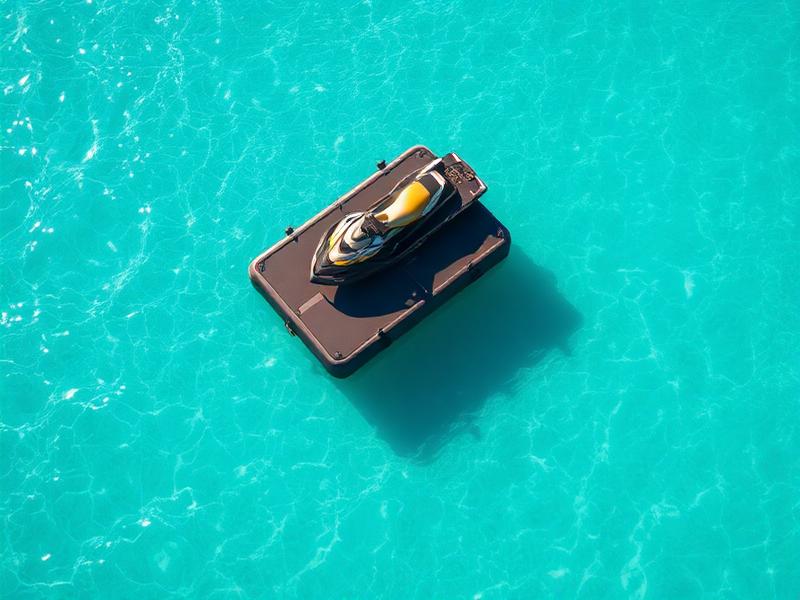
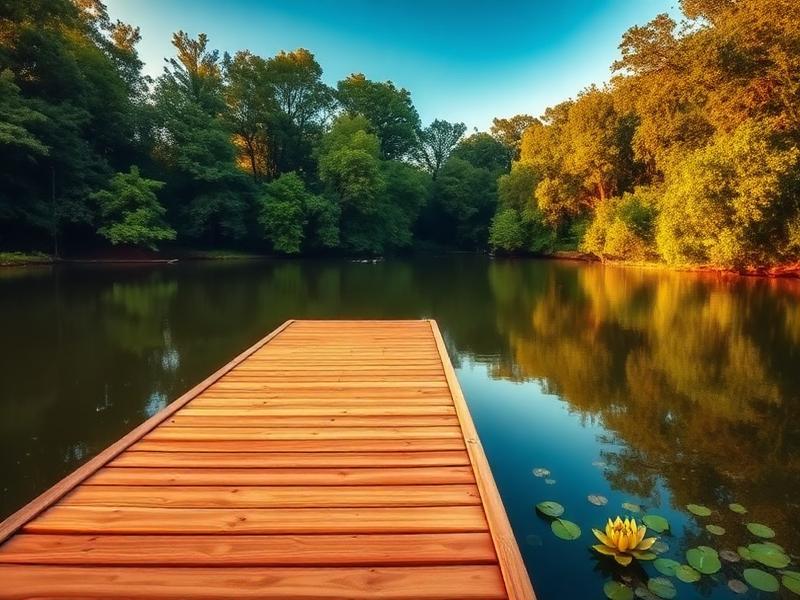
From jet ski platforms to complete lake docks, find the perfect solution for your waterfront.
Why 10,000+ Customers Trust Docklife
15+ years of experience, Inc. 500 recognition, and a commitment to quality.
No Permits Required
Our docks are USCG-registered as vessels. Skip the permit office and install this weekend.
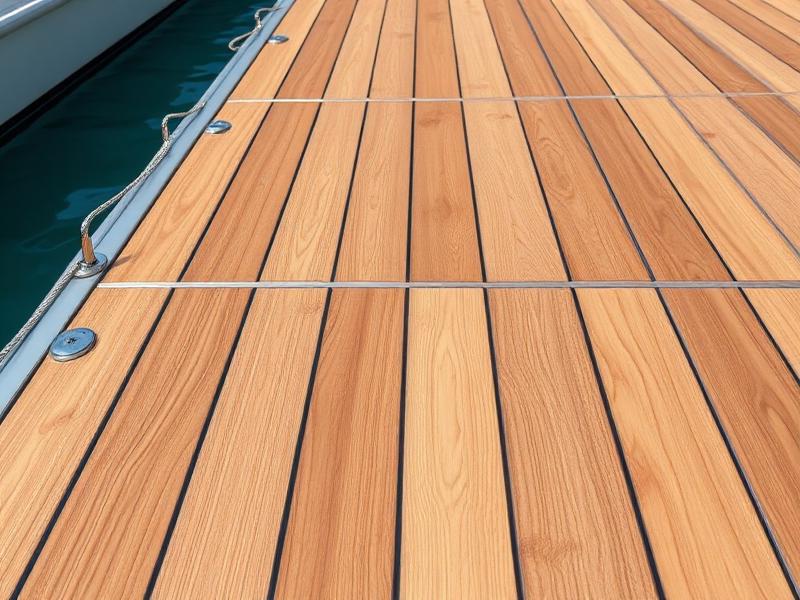
Real Wood Decking
Our patented system lets you add real wood or composite decking. Looks and feels like a traditional dock.
Ships from Florida
Our Winter Garden warehouse means faster delivery to the Southeast and competitive LTL freight nationwide.
Our Most Popular Services
From new dock installation to emergency repair, we handle it all — no permits required.
Floating Dock Installation
Professional floating dock installation in Central Florida.
Learn moreResidential Floating Dock Installation
Residential floating dock installation for Central Florida homes.
Learn moreCommercial Floating Dock Installation
Commercial floating dock installation for Florida marinas, resorts, HOAs, and businesses.
Learn moreFloating Dock Repair
Floating dock repair services in Central Florida.
Learn morePWC & Jet Ski Dock Installation
Jet ski and PWC dock installation in Central Florida.
Learn moreDock Permit Assistance
Need dock permit help in Florida? Our USCG-registered floating docks require no permits in most cases.
Learn more"Installed our jet ski dock in 3 hours. No permit hassles, no contractors needed. Best purchase we made for the lake house."
— Mark T.
Orlando, FL
See How We Compare
Quality floating docks at a fraction of the price—without the dealer markup.
| Feature | dock.life | Candock | EZ Dock |
|---|---|---|---|
| Price per sq ft | $15-25 | $40-60 | $50-80 |
| No permit (USCG) | |||
| Wood decking option | |||
| Ships from Florida | |||
| Buy direct (no dealer) |
Price per sq ft
dock.life
$15-25Candock
$40-60EZ Dock
$50-80No permit (USCG)
dock.life
Candock
EZ Dock
Wood decking option
dock.life
Candock
EZ Dock
Ships from Florida
dock.life
Candock
EZ Dock
Buy direct (no dealer)
dock.life
Candock
EZ Dock
Ready to Start Your Dock Project?
Get exclusive deals, installation tips, and project inspiration delivered to your inbox.
Subscribe for Updates
We respect your privacy. Unsubscribe at any time.
Need a Custom Quote?
Tell us about your project and get a personalized quote within 24 hours.
Get a Custom Quote